· 6 min read
Retaining Wall

Motivation / Backstory
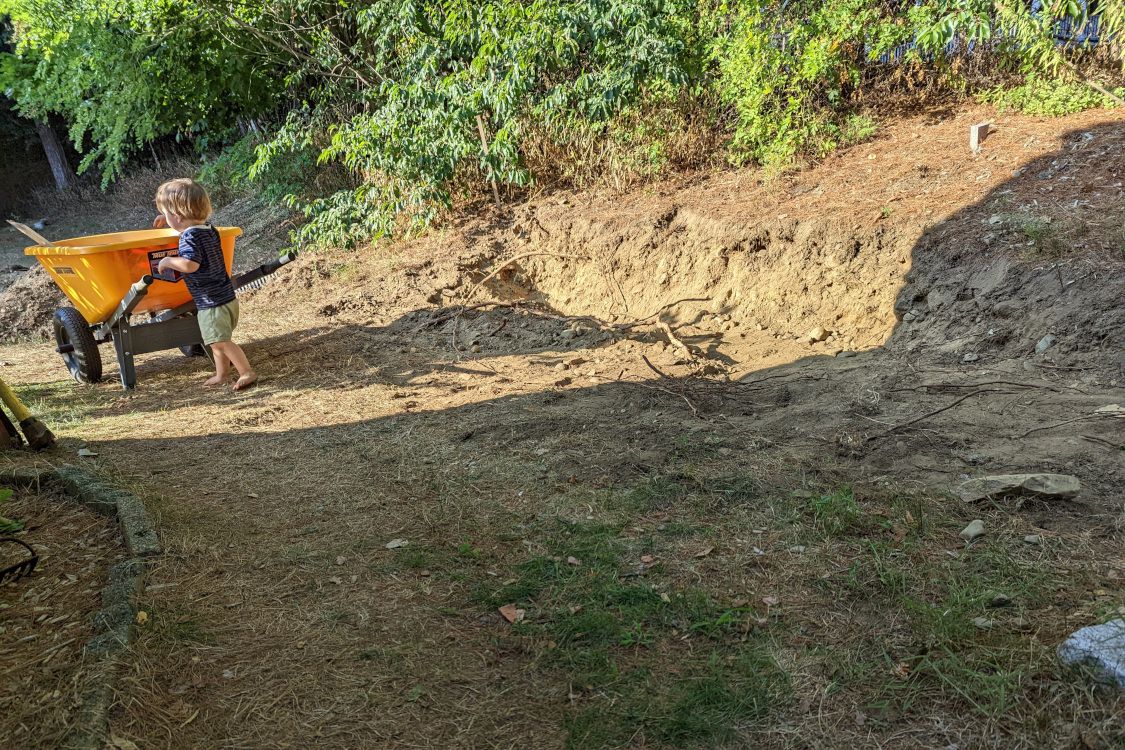
My wife and I love spending time in the back yard when we can. Our son Milo has a blast running around the back yard, playing with his toy monster truck, or asking us to push him on his toy bike. Sometimes we just want to relax though. The only problem is that we live on a busy road and we don’t have a good way to contain him in the back yard.
With Milo’s birthday party coming up, we decided that we needed to put up a fence. This way other families would not have to worry when they came over to party in our back yard. I spent quite a few hours researching different types of “no-dig” fences that would work with the steep slope on the side of our house. After becoming exasperated with the options available, my wife suggested the great idea to just do a flat fence and put up a wall at the end. It was exactly the spark that I needed.
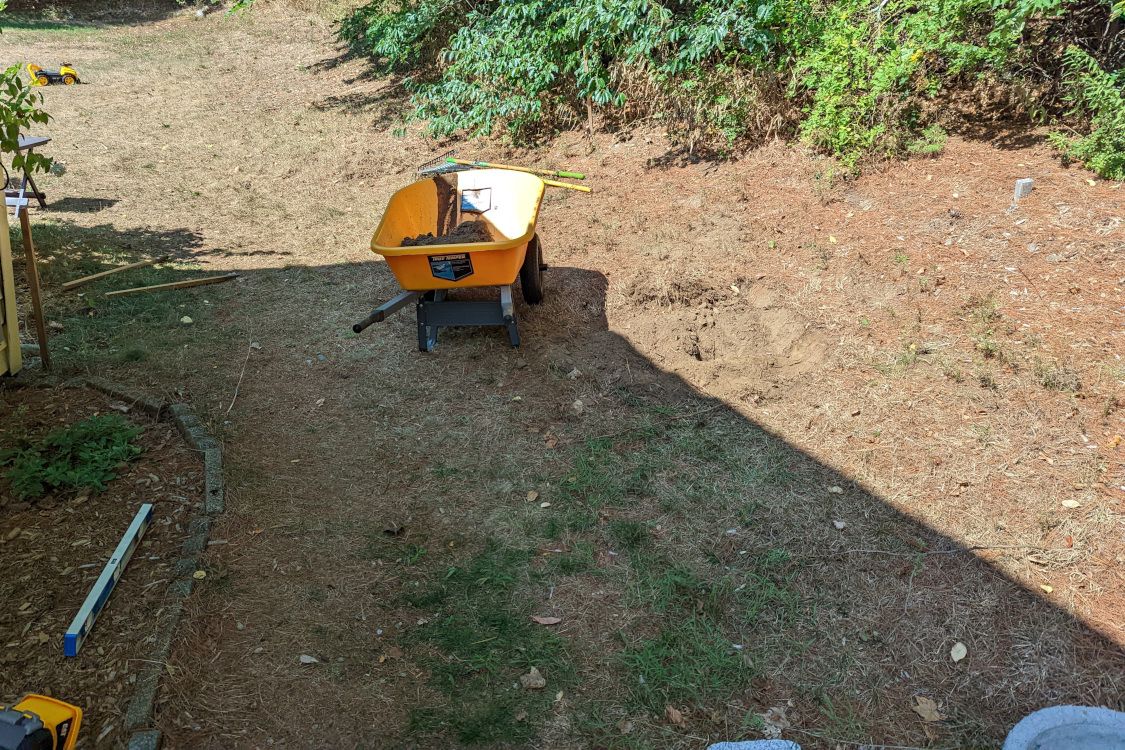
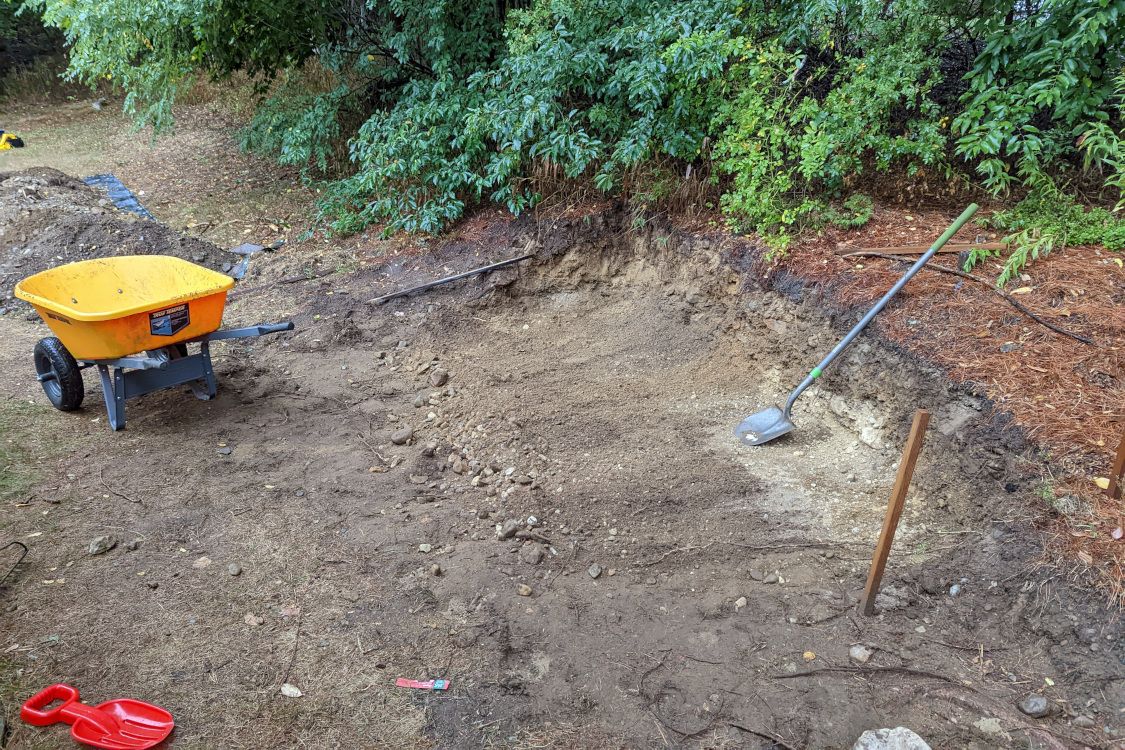
I got straight to digging before I could start overthinking this new idea. I immediately felt a sense of relief that the project was finally underway and that I didn’t need to worry about choosing the right fence anymore. Any kind of fence would work now that the hill wasn’t going to be a problem. The only thing left was to learn about how to build a retaining wall, but how hard could it be? 🙂
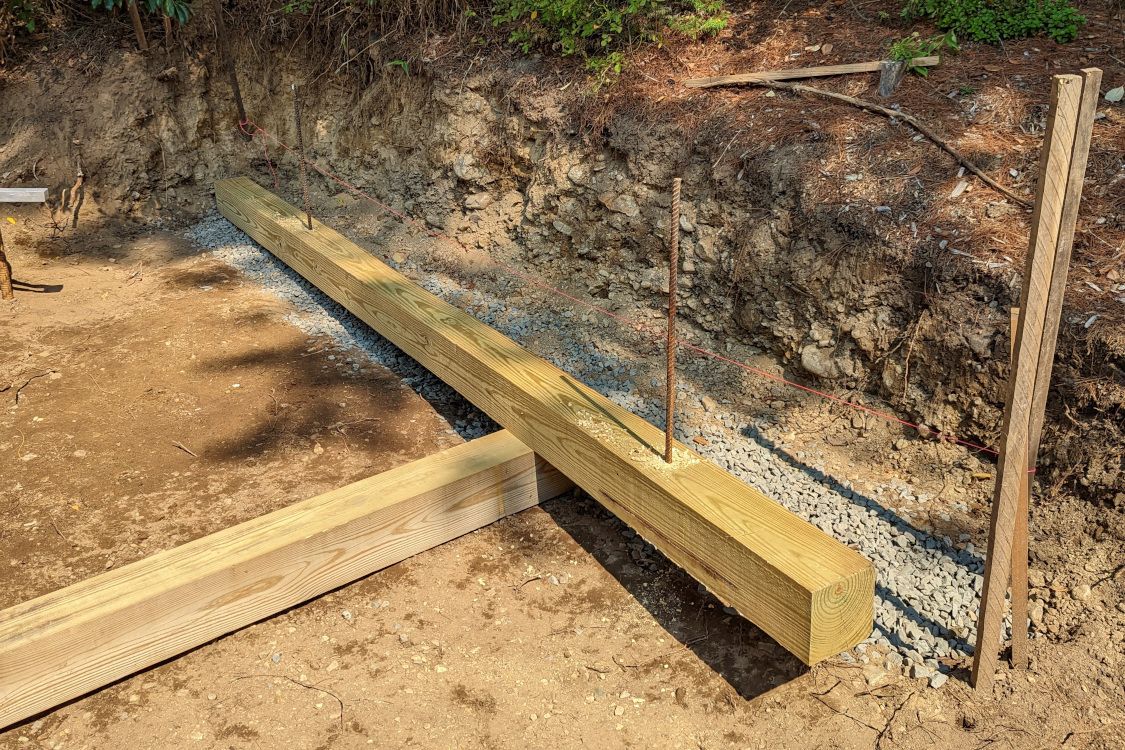
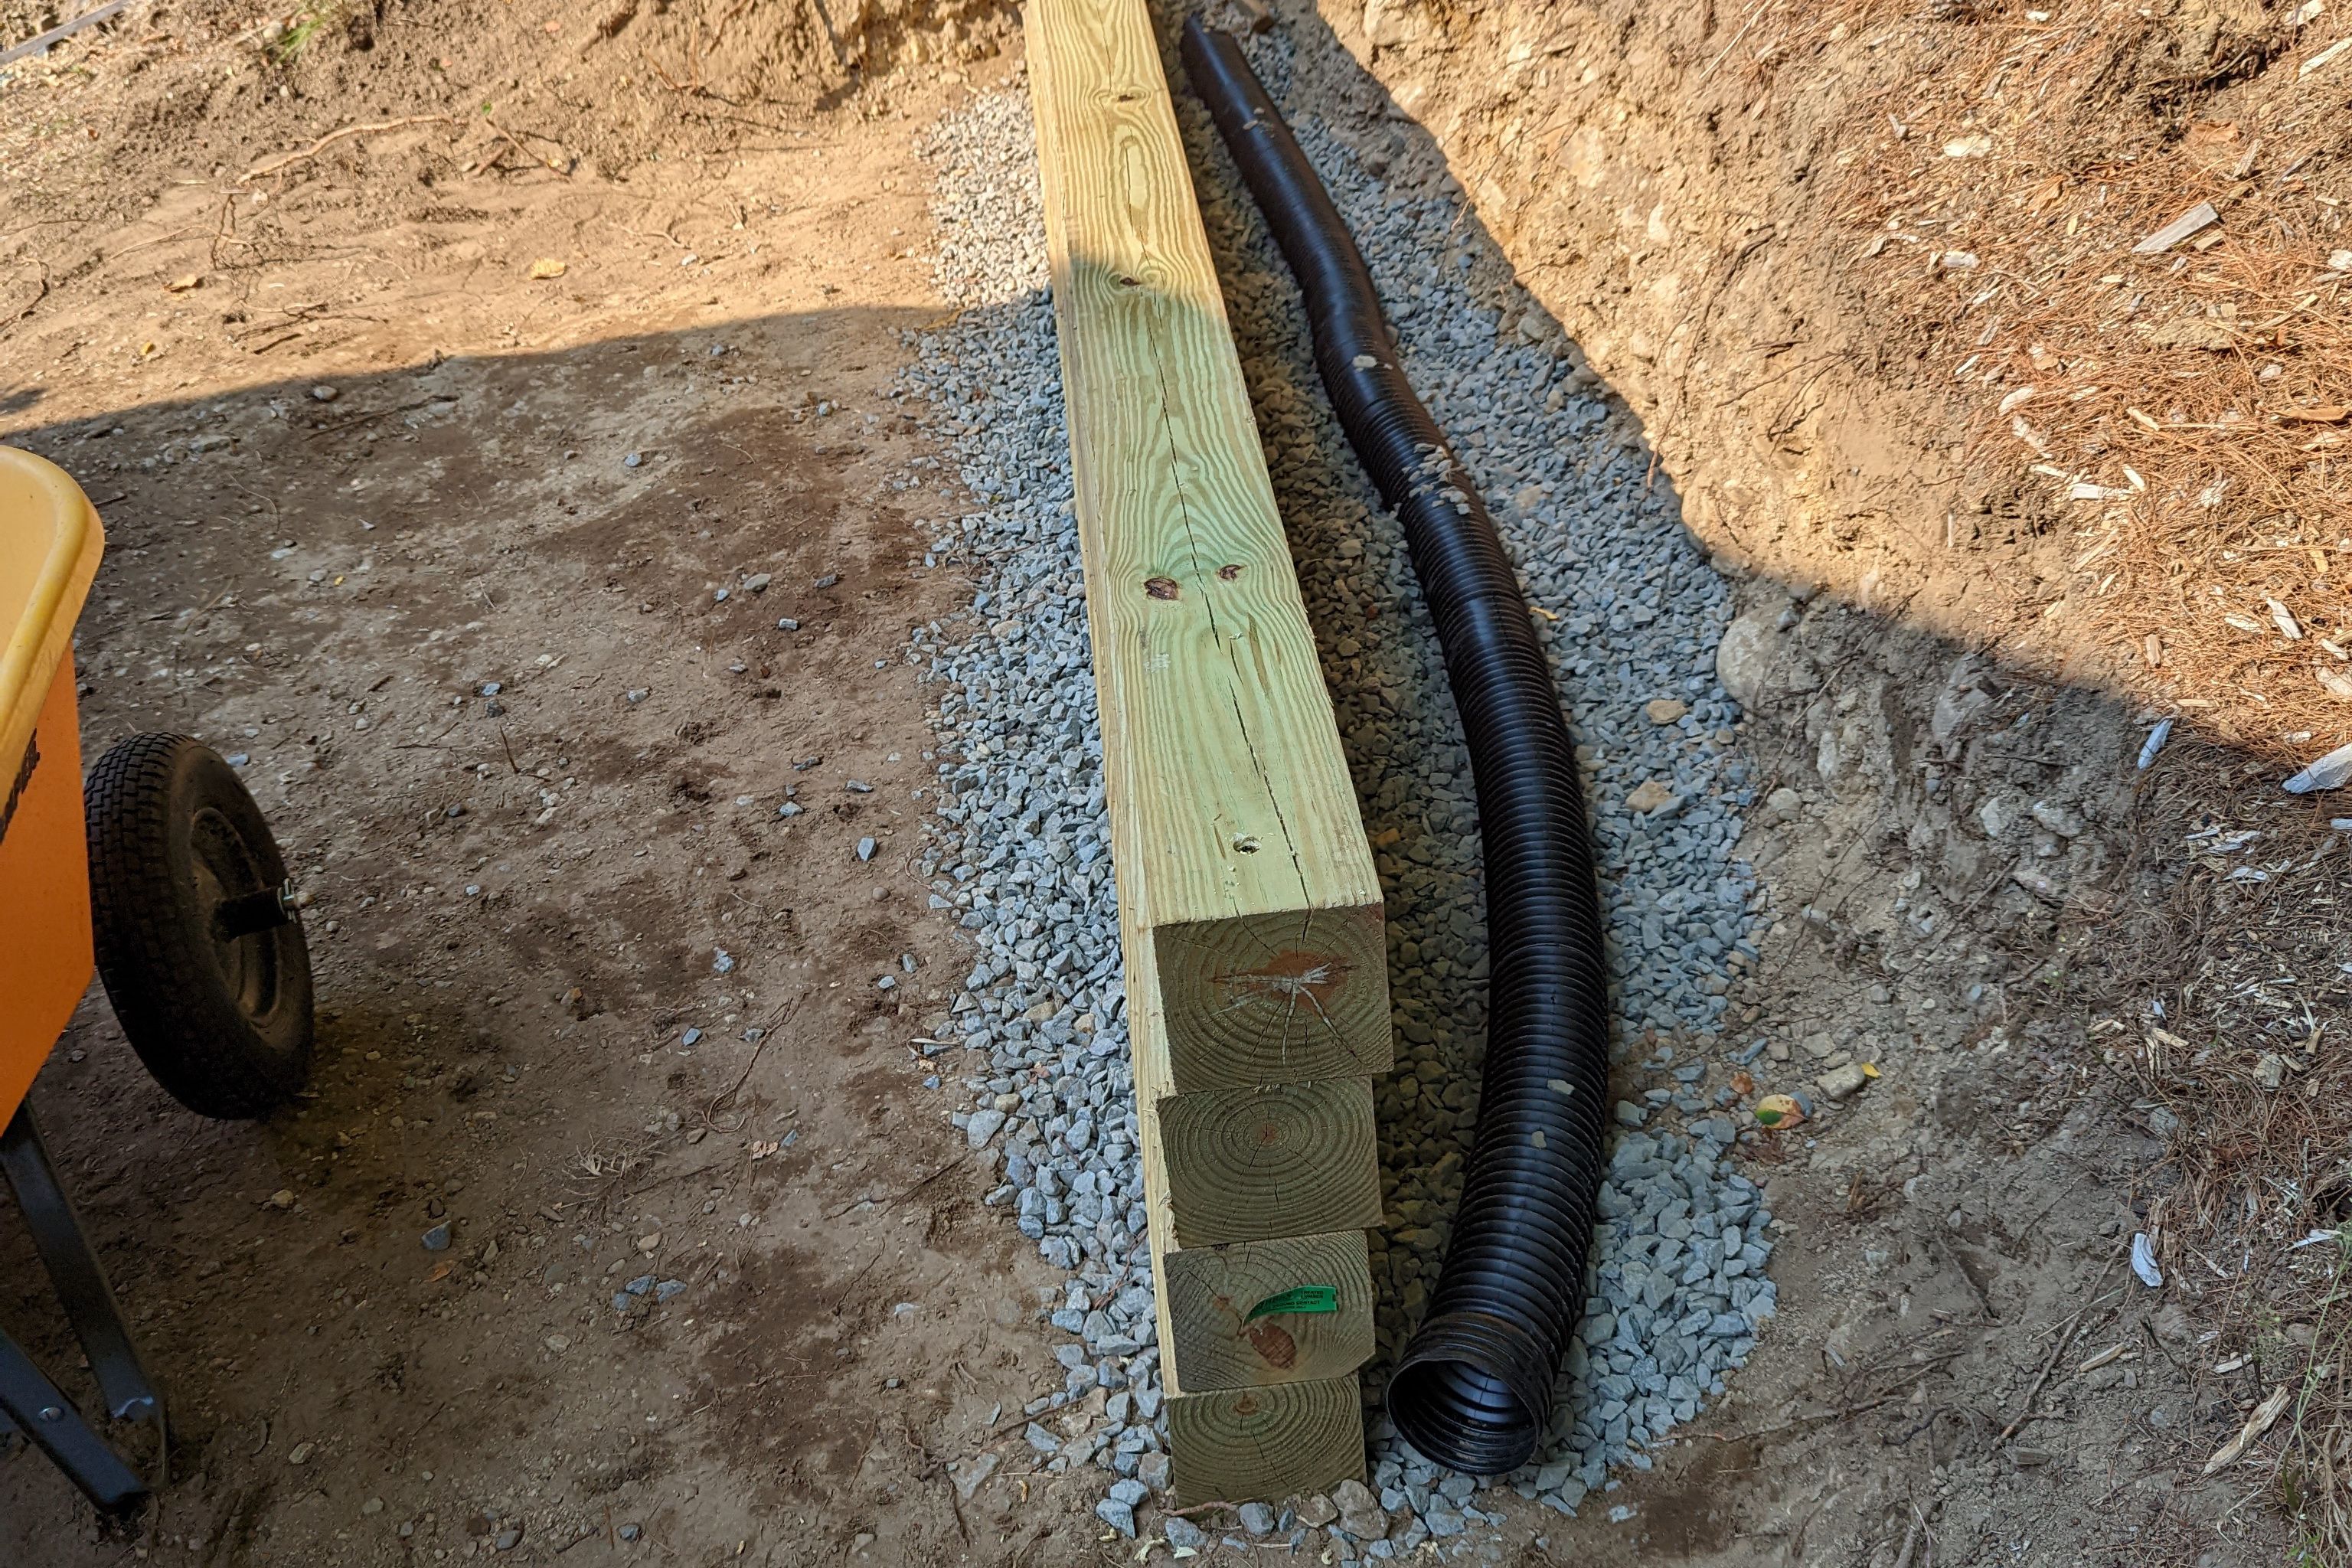
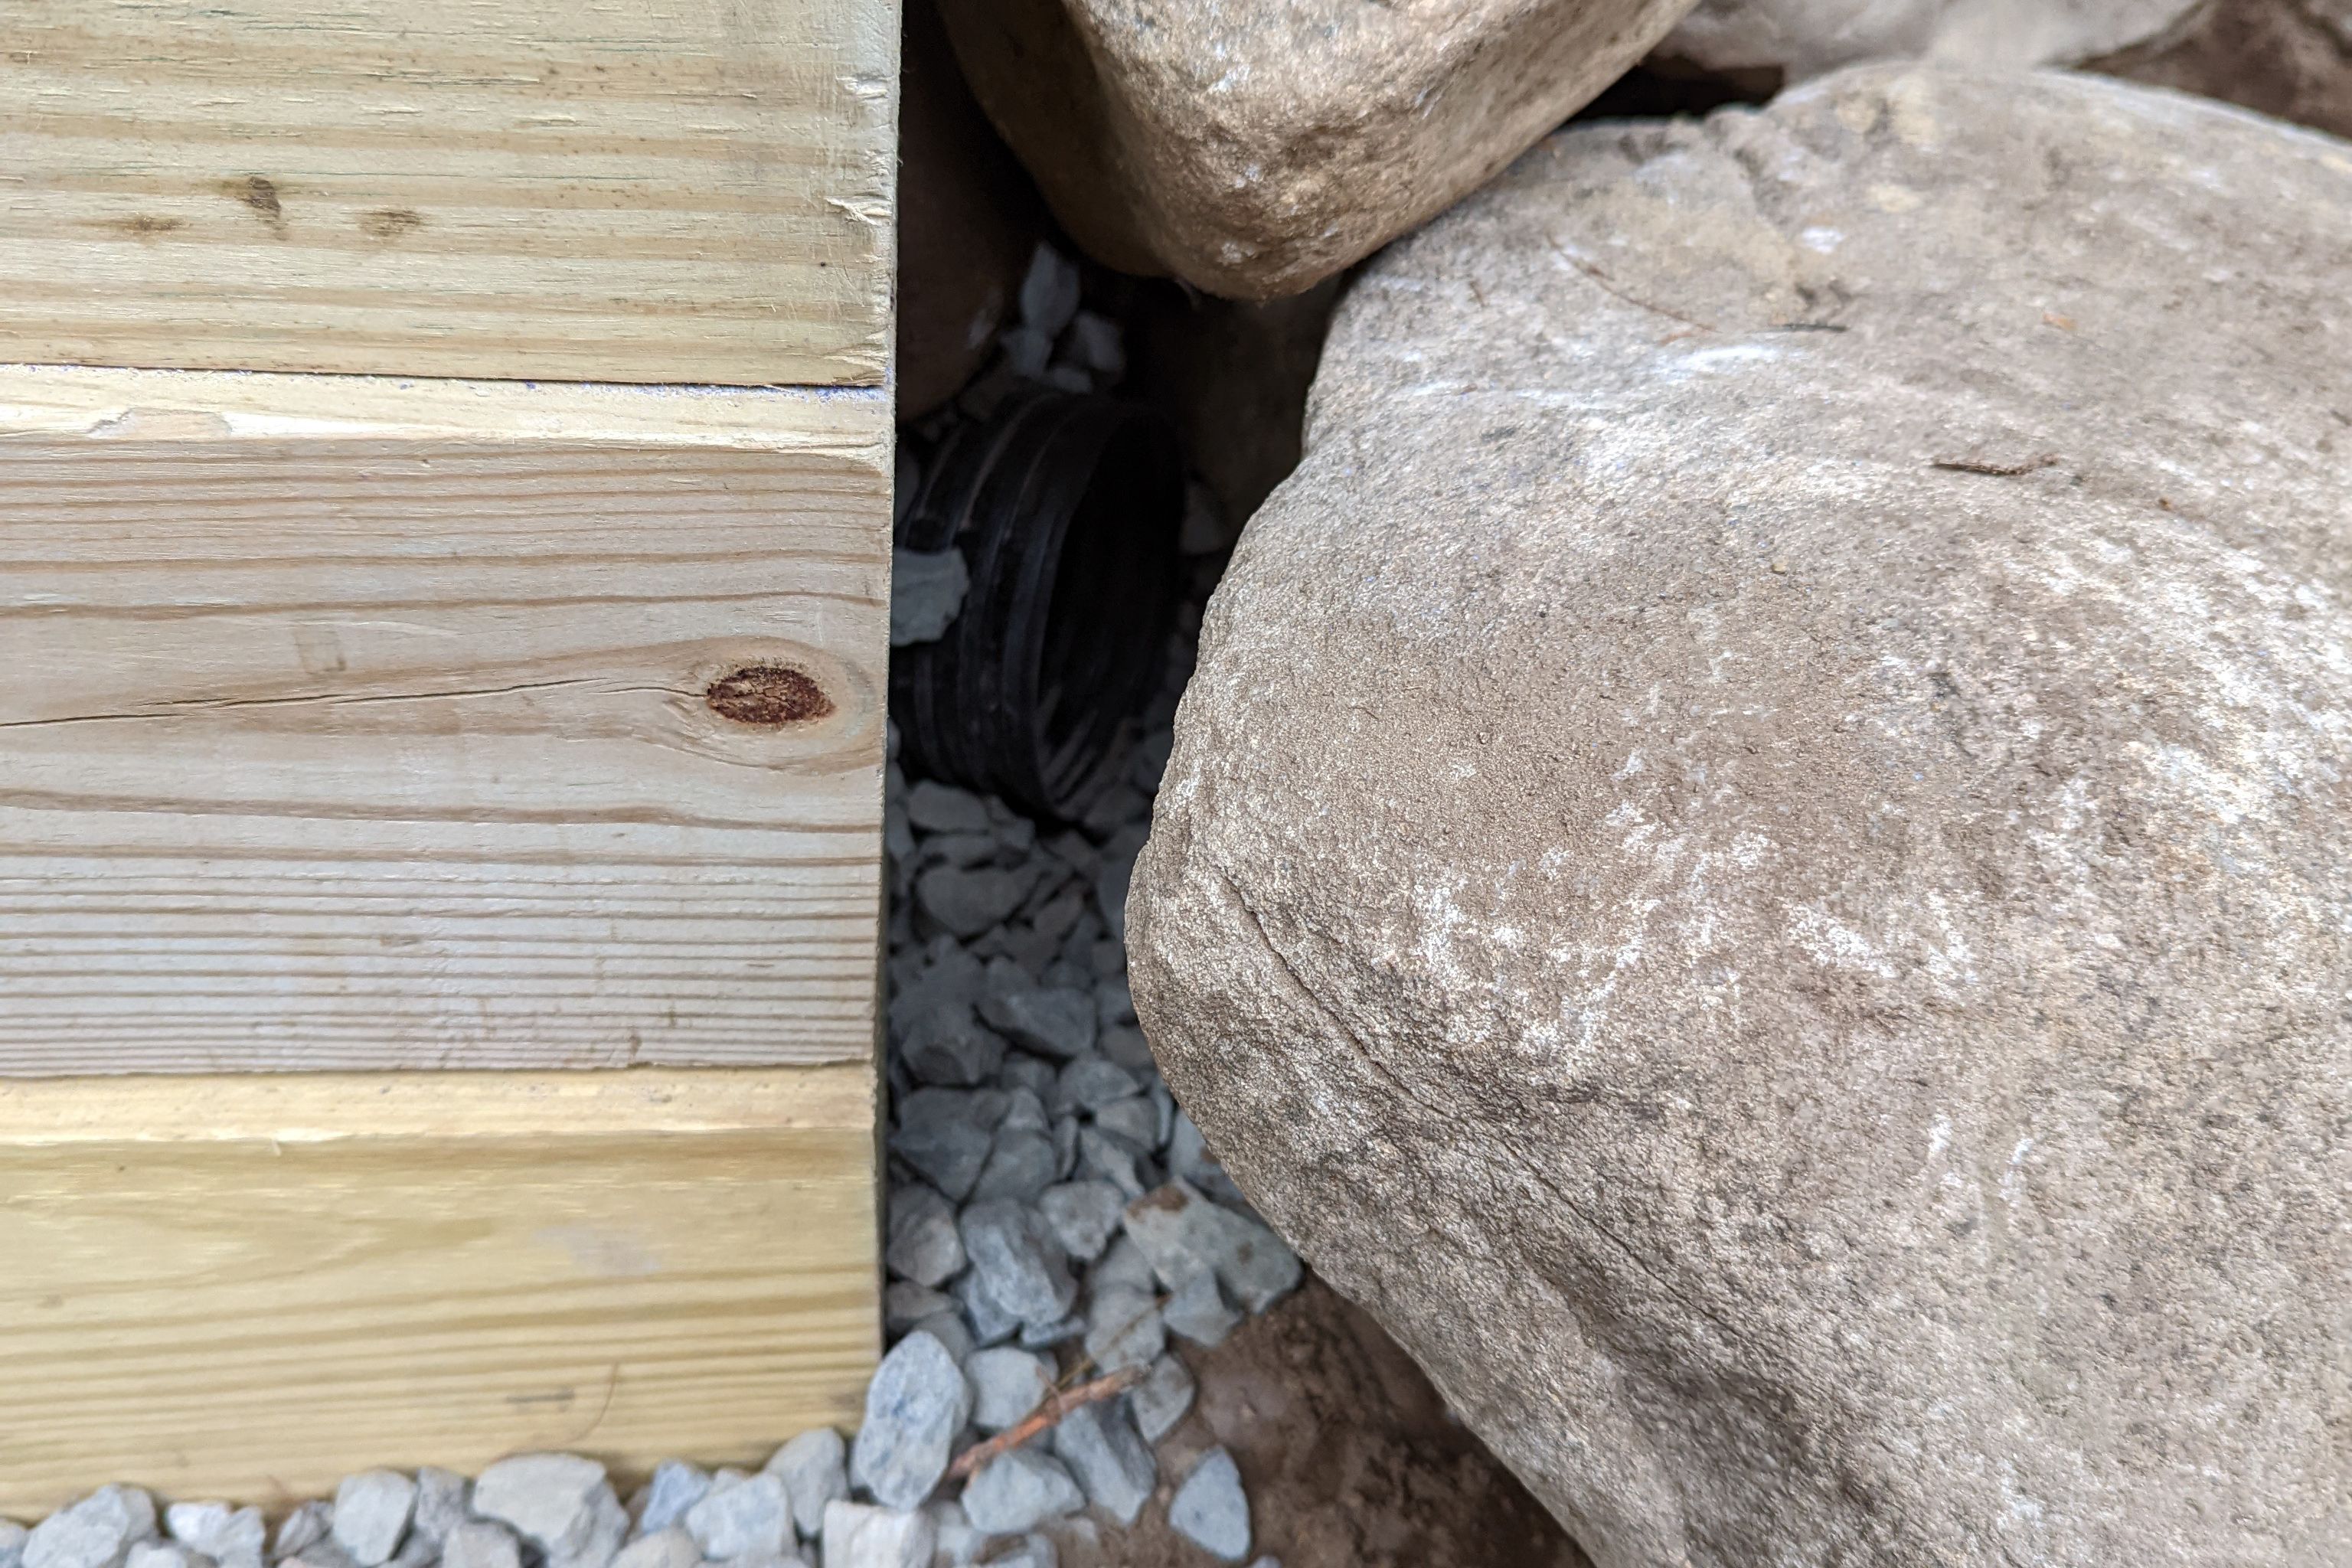
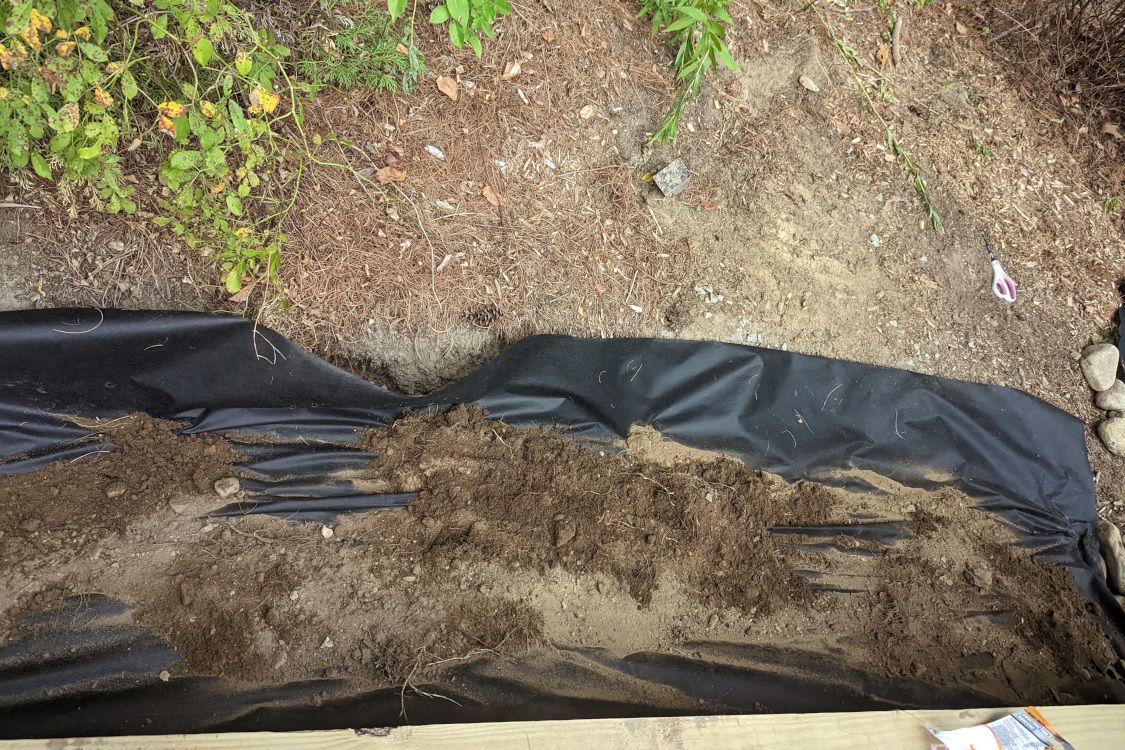
Over the next day or two I started to dig. I found a nice step-by-step blog post detailing how to build a timber retaining wall. I felt confident in my ability to execute the guide and even reached out to the author with a question about drainage.
Progress

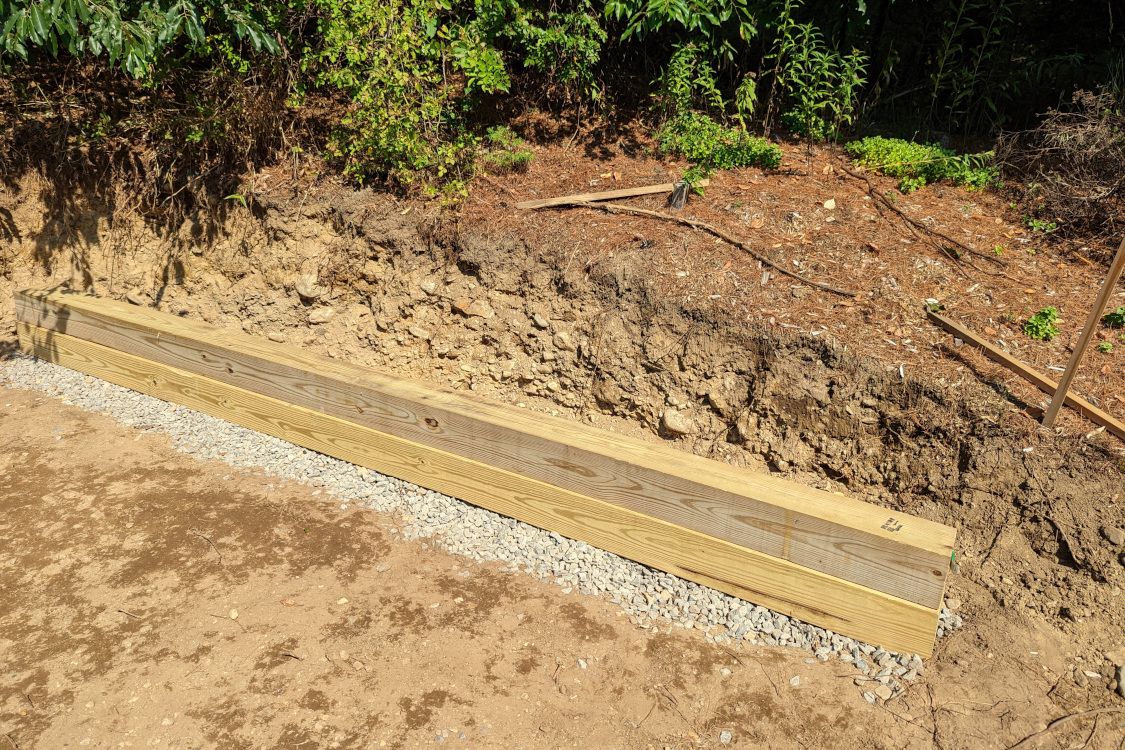
Final Thoughts
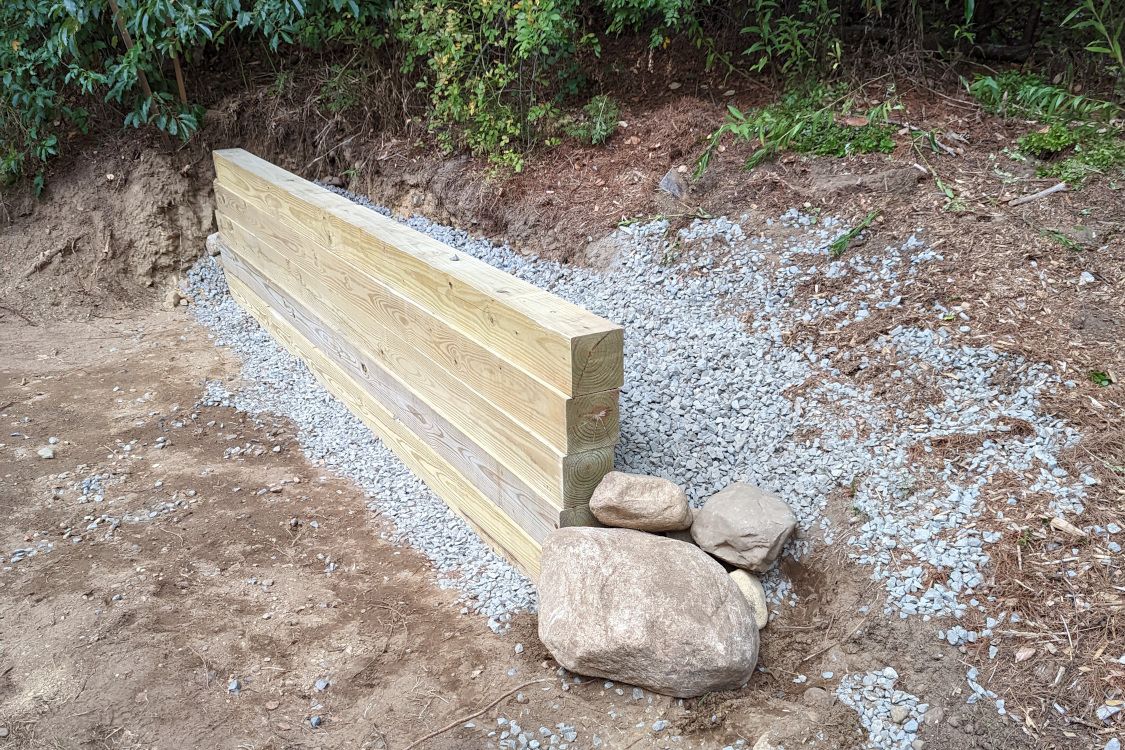
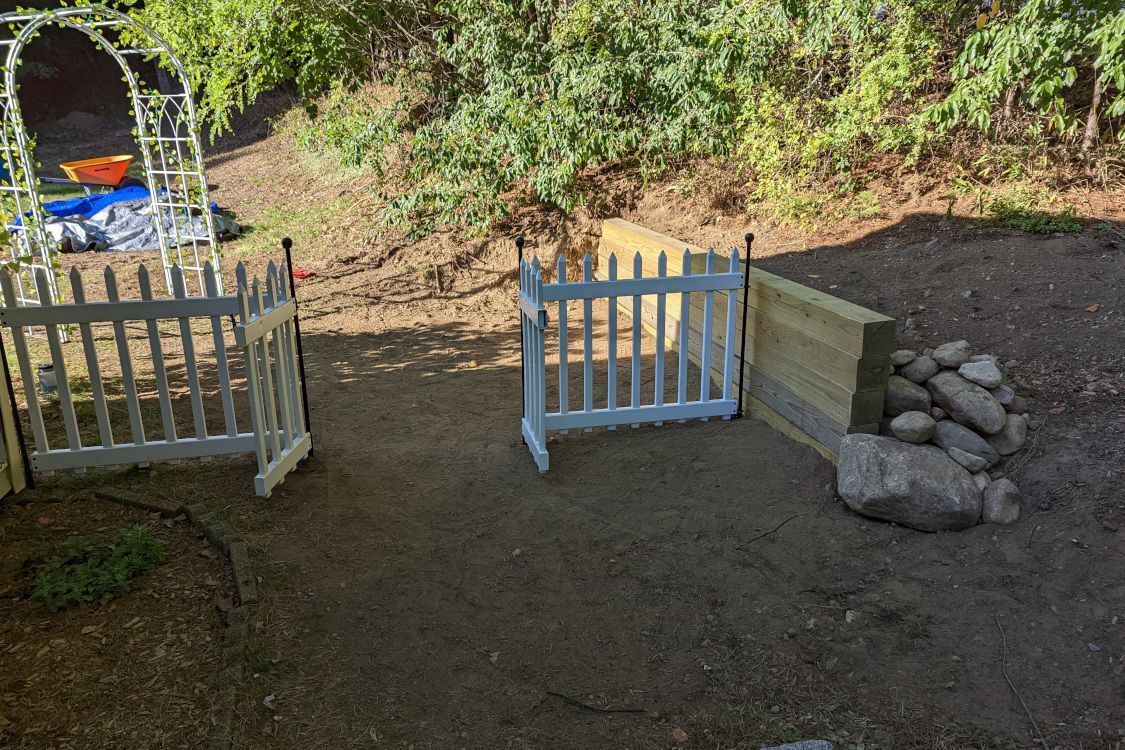
Success! The wall was finished and I was able to put up the fence in time for Milo’s party 🥳. I’m pretty happy with how it turned out and it gave me a lot to talk about at the party. This retaining wall was the biggest project that I’ve completed and it has gotten me excited to start working on some other ideas.
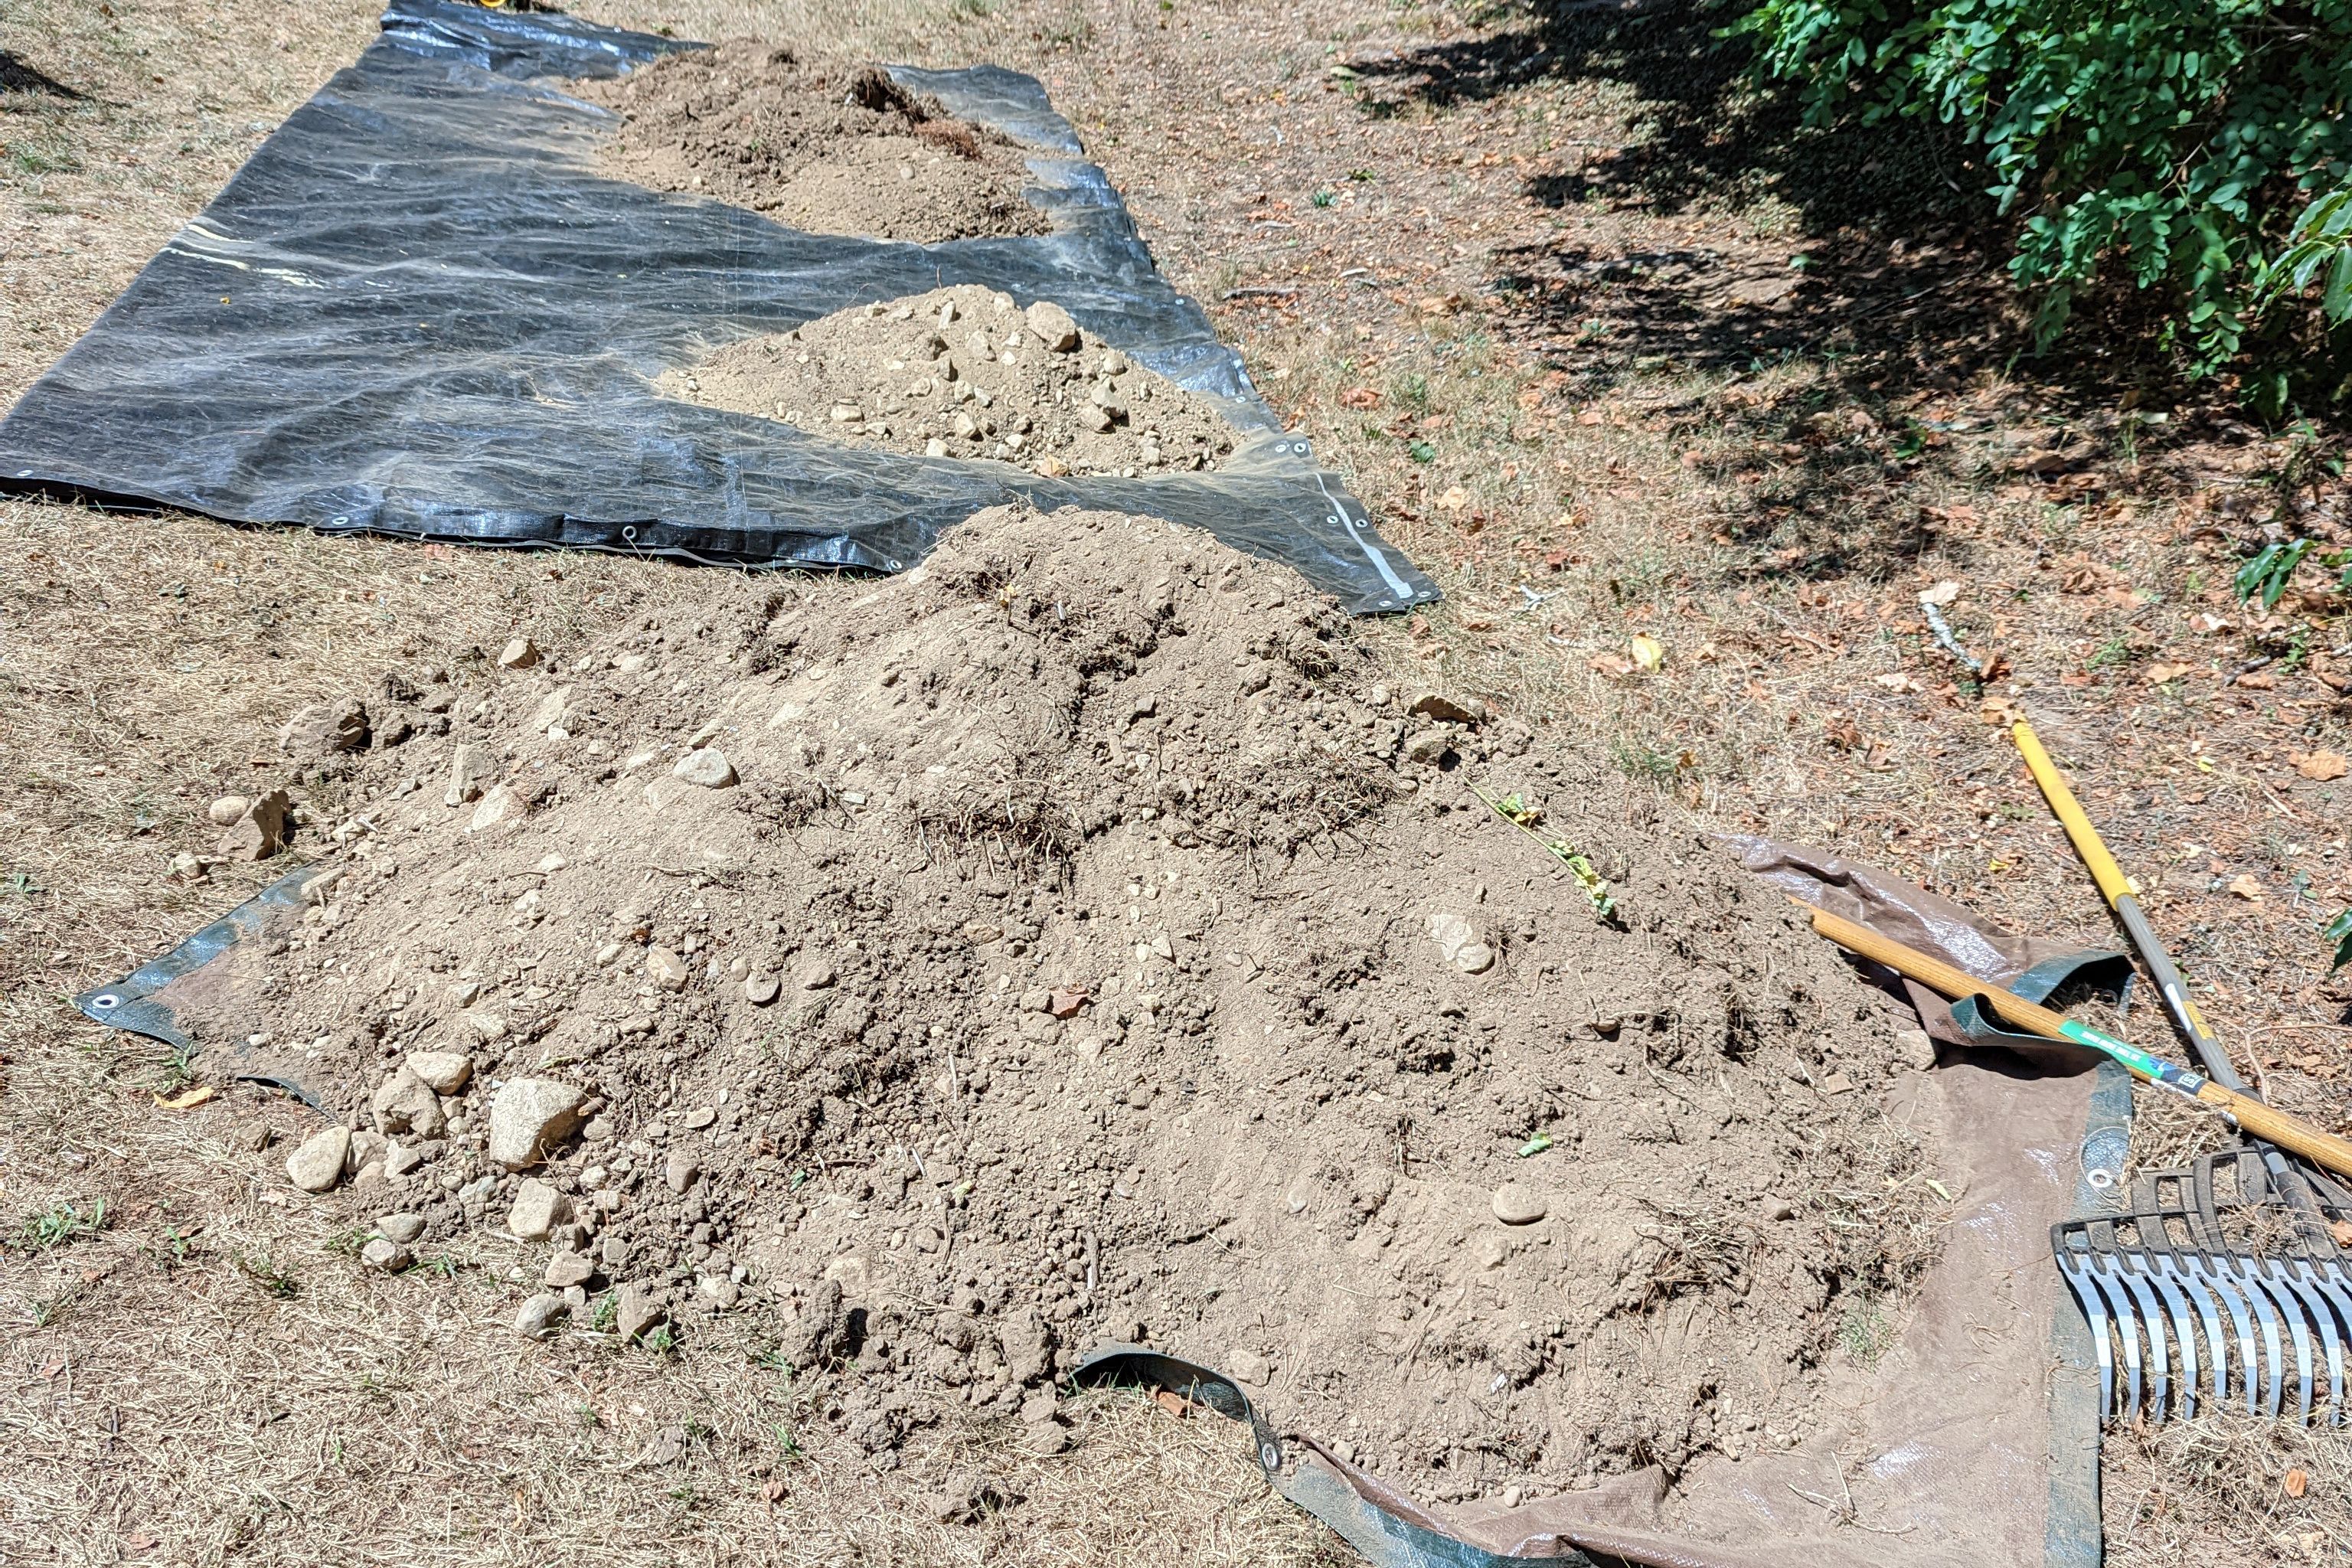
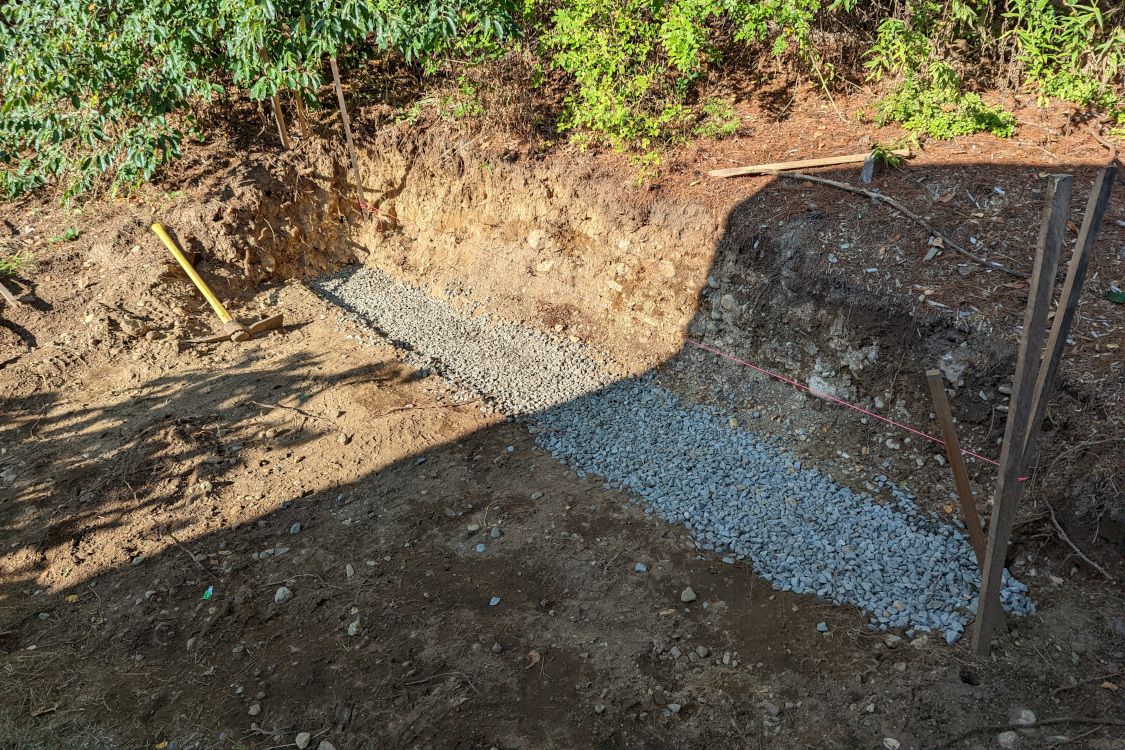
Things went according to plan for the most part, which was a relief. I am very thankful that my excavation didn’t run into any significantly plan altering roots or rocks. There was one large root, but it only caused my wall to be moved over a few inches. I was also glad that staking in the rebar did not hit any large rocks causing me to need a grinder.
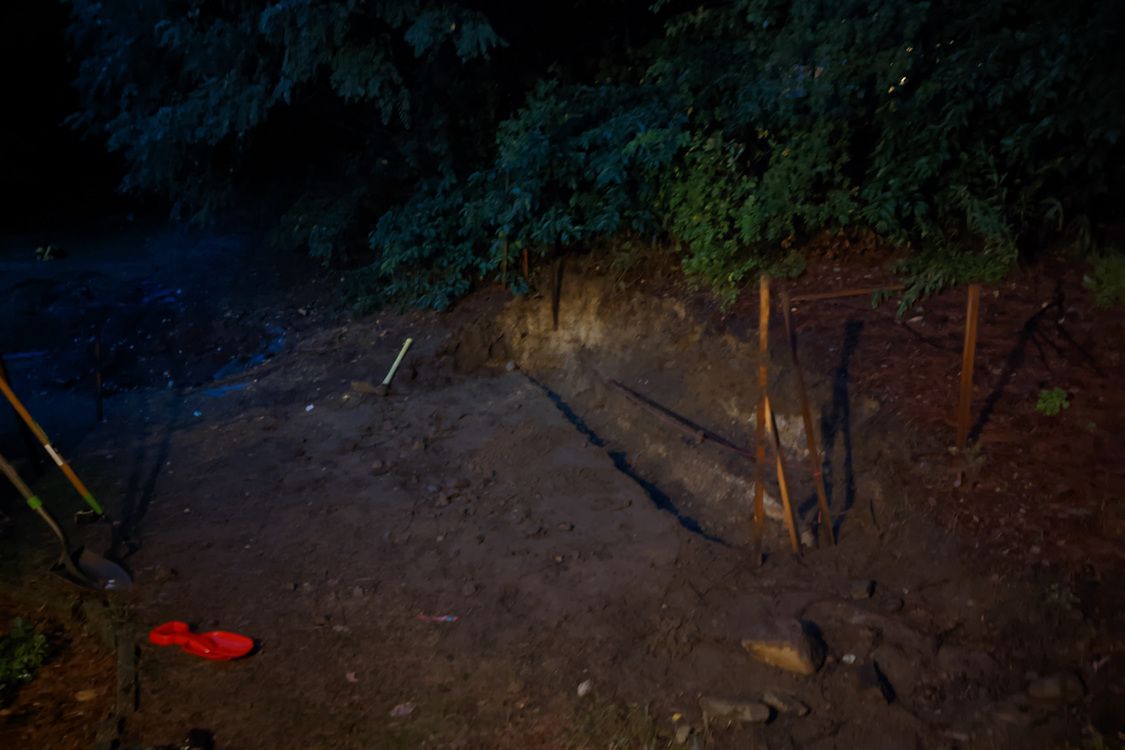
One thing that I hadn’t anticipated during the project, was the physical toll that all the digging would take on me. After the first couple days of digging I developed tendonitis which slowed down my progress immensely and forced me to take a week off 😓. After this pain started, I became acutely aware of my form while wielding the pick-axe and shovel. Each swing was much more deliberate for the rest of the project!
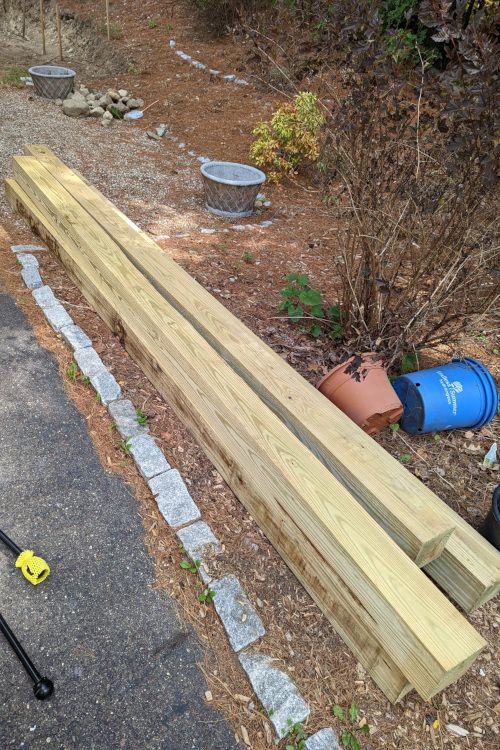
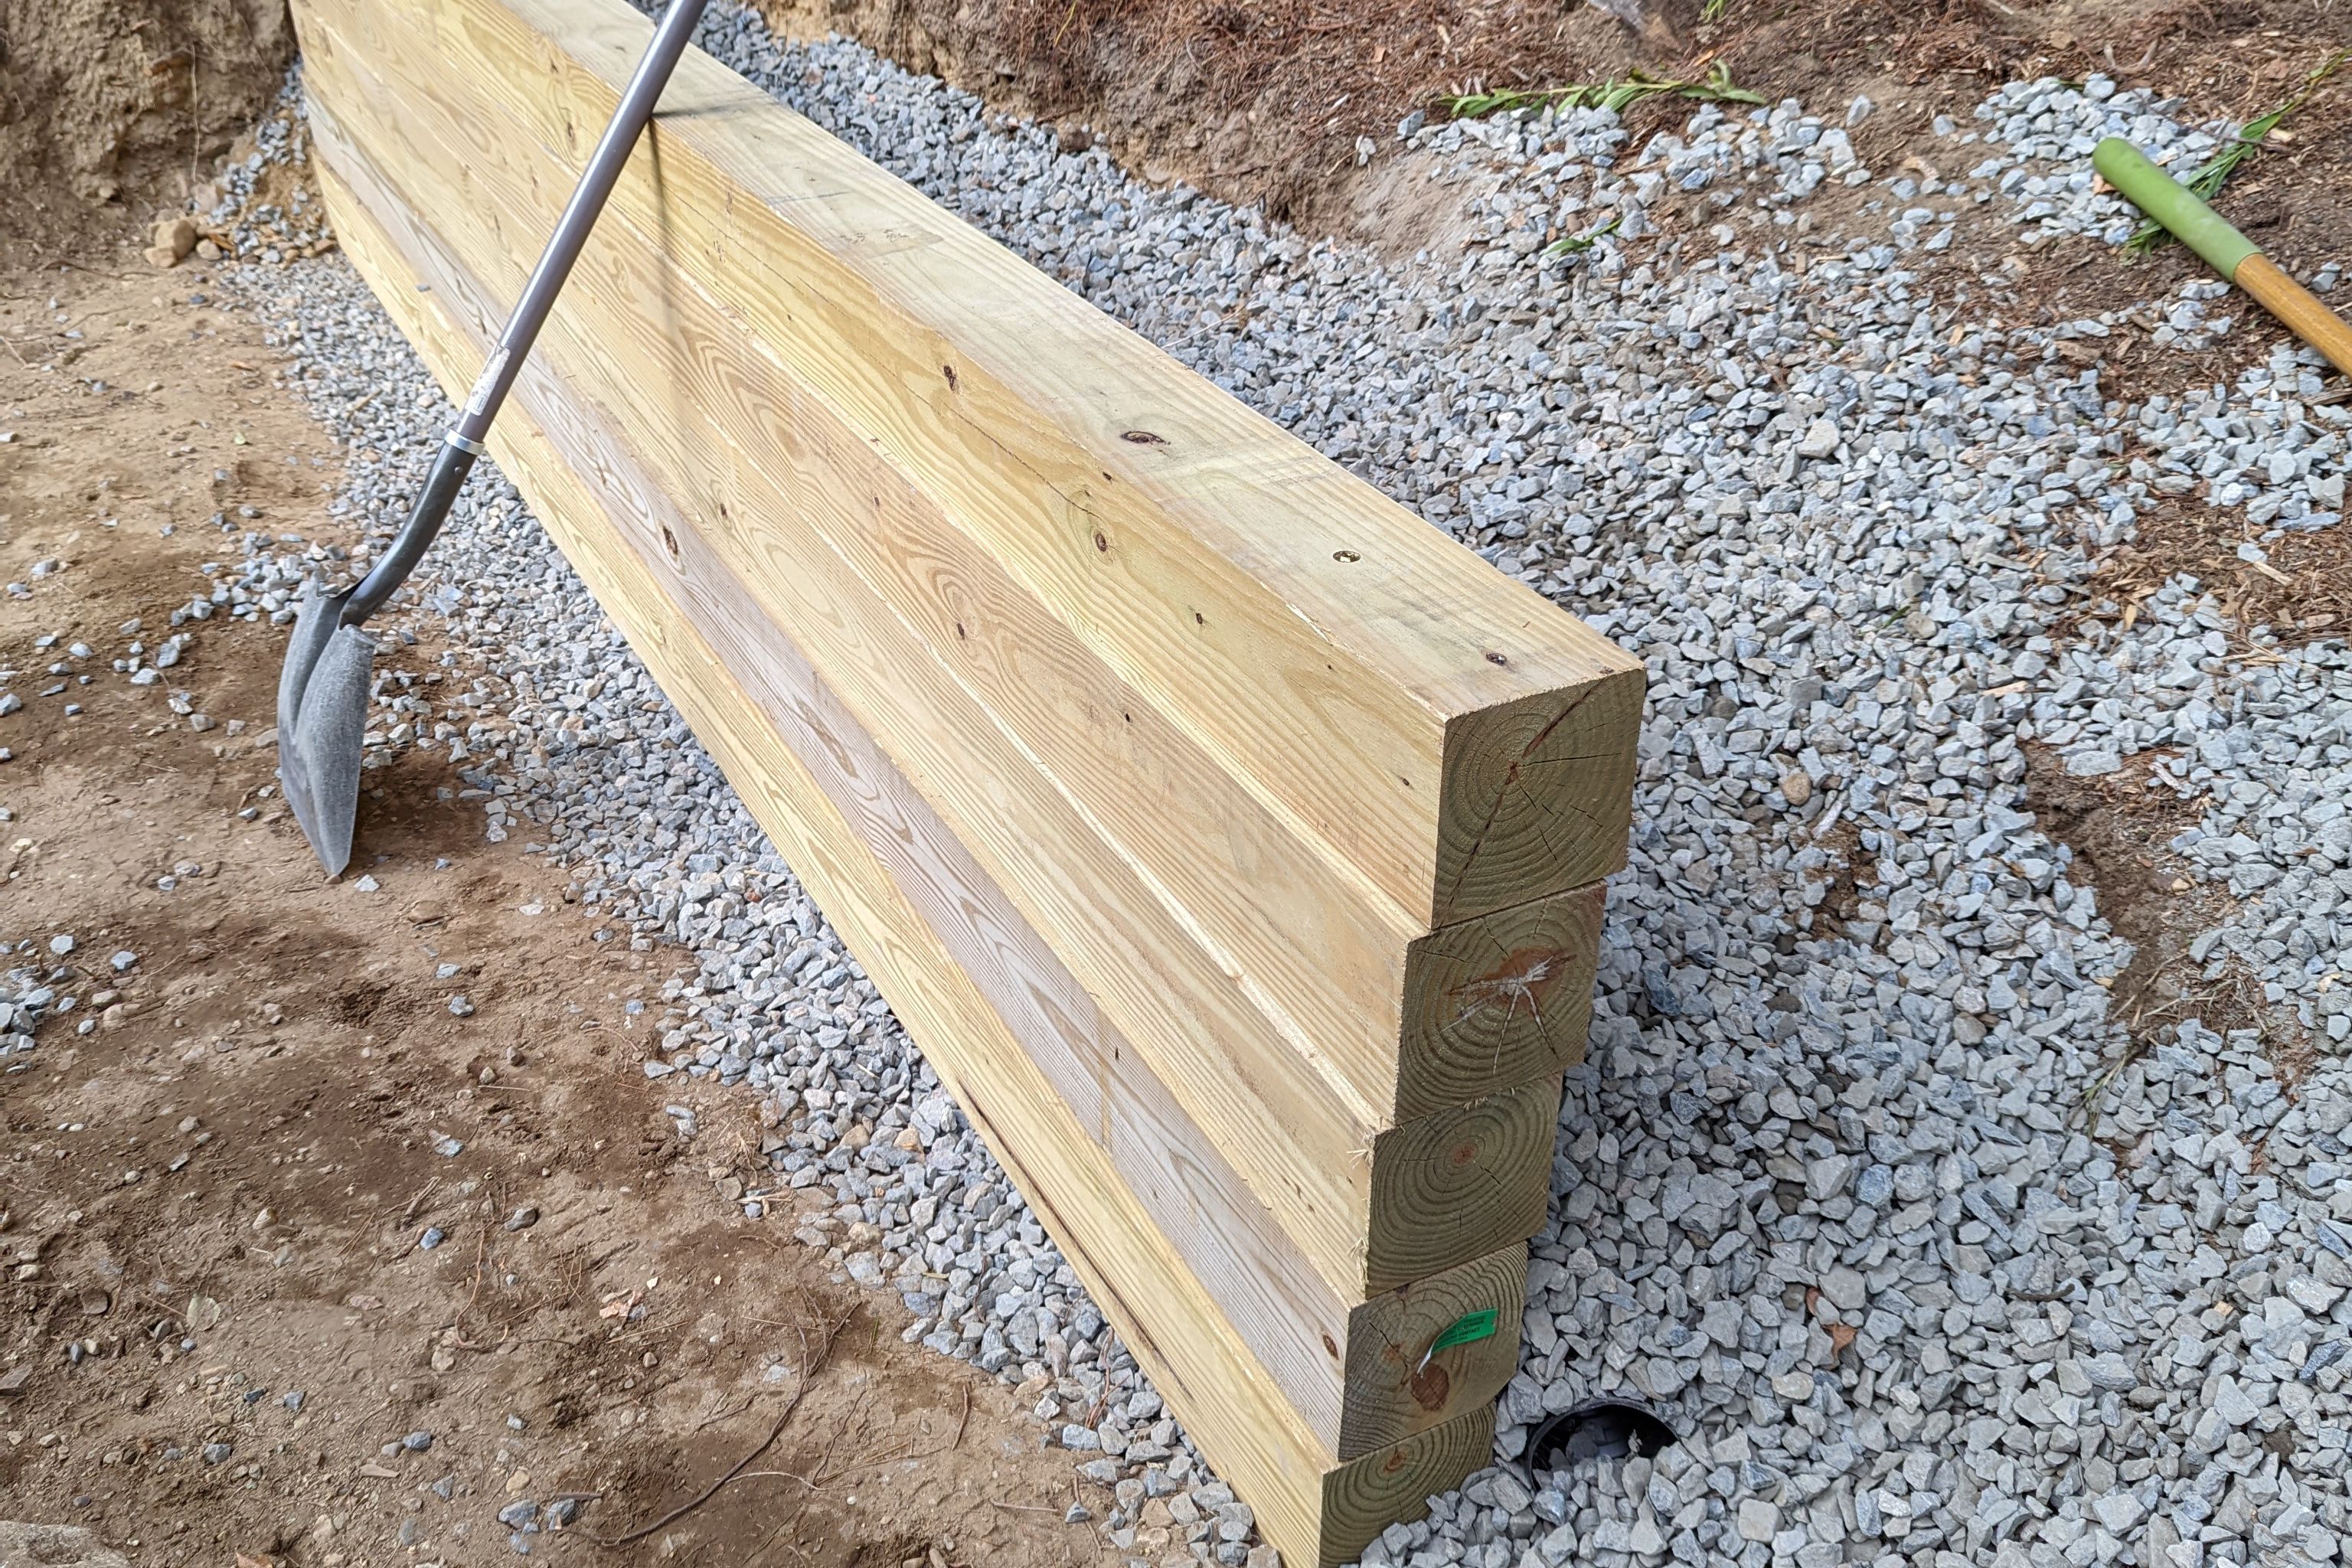
In terms of materials, I was very pleased with almost everything, except the quality of the pressure treated lumber that I had bought. For my next project I will be sure to be more selective of pieces with less cracks in them. When it came time to place the pieces, I had a hard time finding a “pretty” side with many of the pieces. I wish that I had thought of this ahead of time, but it’s not the worst thing. I suppose that the irregularities give the wall character 😄.
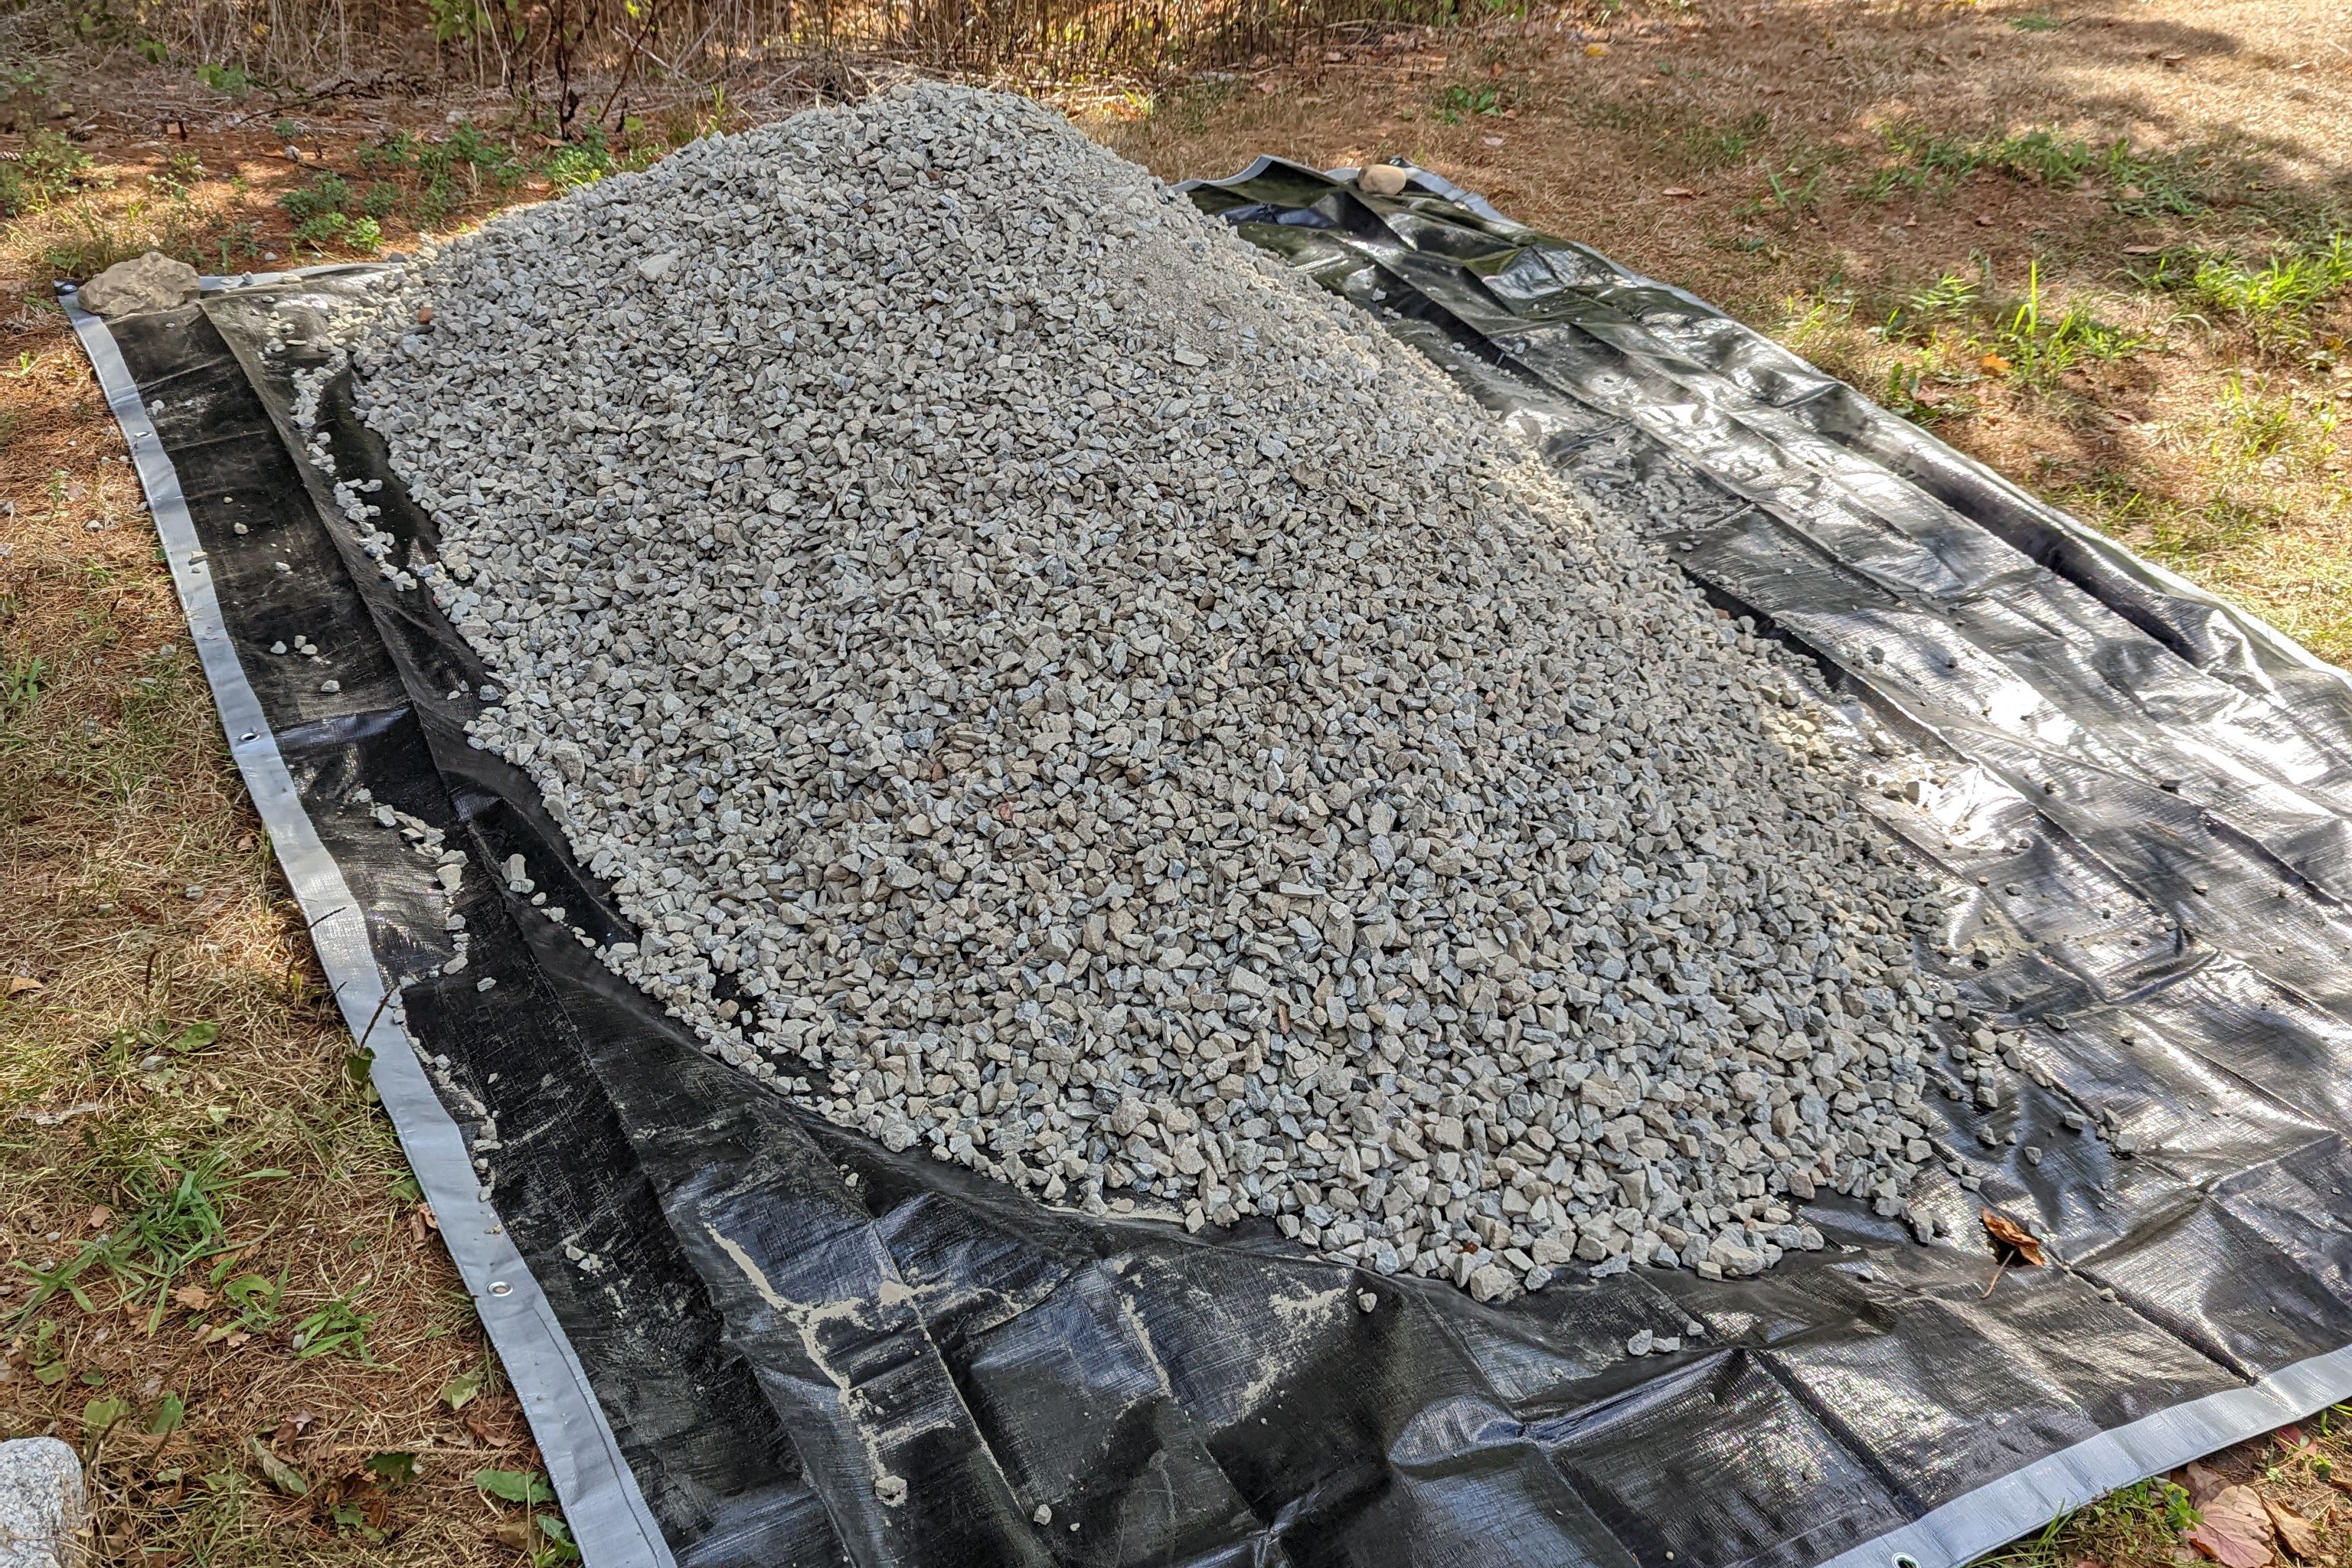
In the aftermath I also noticed that the wall got a “slight” lean to it after backfilling the gravel, and slightly more after a day or two. I am not sure the best way to handle this. It probably happened because the 2 rebar stakes don’t have enough leverage to withstand the soil behind it. Perhaps using longer stakes, more stakes, or starting at a counter-lean would have helped this problem (or a combination!). The lean doesn’t appear to be getting worse after the first but I will keep an eye out 🤞 (I’m not sure if there is anything that could be done at this point anyways).
What’s next?
Now that the structure is all done, the only thing left to do is dress it up. I plan to put a layer of mulch and grass above the wall (or possibly patio stones) beneath. I would also like to add a few more stones to make the side wall higher. In the area where the wall meets hill, I want to clean things up to make a more natural looking transition. Ideally the hill will have a nice low grade conical shape when I am done.
I have also been thinking about putting in some raised garden beds on the hill in our back yard. My sister has been telling me about hugelkultur, which seems very interesting! Regardless of what technique I end up using, the extra soil from this excavation will be very useful for planting.